


Do you love origami animals? Do you like origami boxes?
A couple of weeks ago, I received a letter from Rhonda, an Origami Spirit follower, suggesting the following:
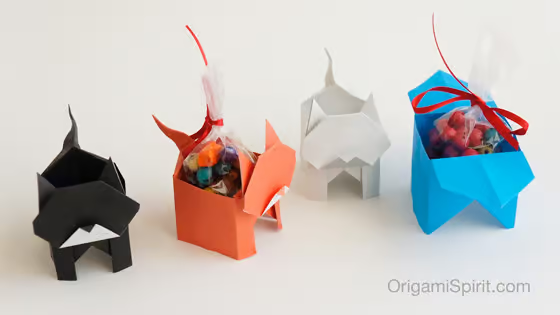
“I like the Cat and Candy Box and your origami tutorial is easy to follow. I was wondering if you could make the same box but for a pig, for Year of the Pig 2019.”
One of the points of departure for origami design is to modify an existing piece so that you can convert it into another design.
I hadn’t thought of modifying the cat into a pig, but Rhonda’s suggestion sounded just right. The Cat and Candy Box is the perfect point of departure for creating an origami Pig and Candy Box.
I soon set out to play with paper to see how I could modify one origami model into the other. Designing origami requires some patience, and achieving anticipated results might be accompanied by some frustration, but it is fun and rewarding.
My design process for this model required several iterations and I felt a little frustrated at first because I couldn’t make the head fit into the body to my satisfaction.
I realized then that I had to also modify the body make the right pocket into which the head would fit.
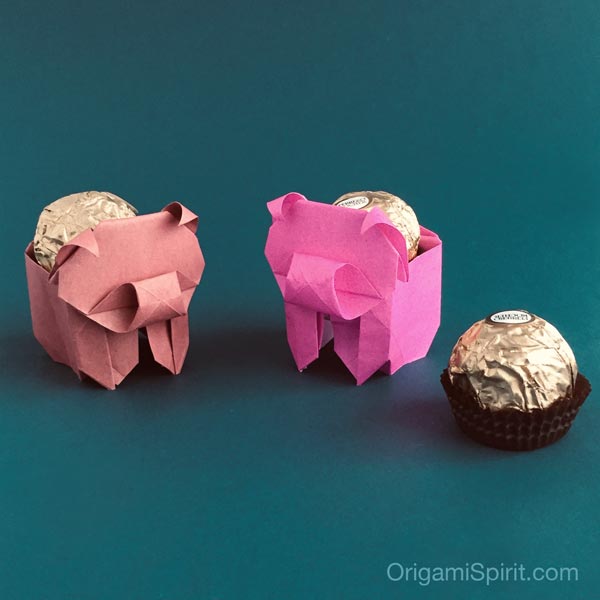
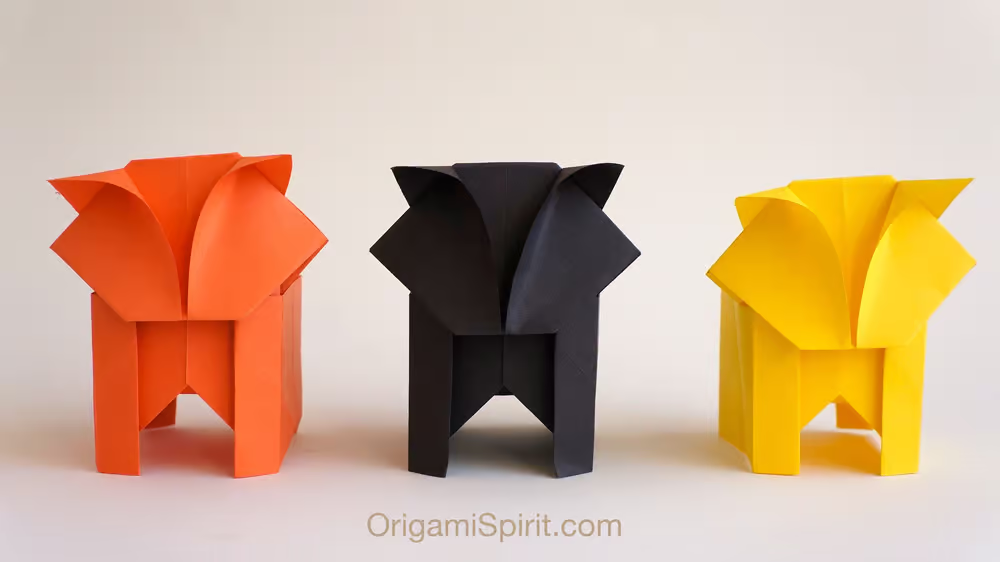
The following step-by-step video shows how to make this two-piece origami Pig and Candy Box. Head and body lock together securely so there is no need for glue or fasteners.
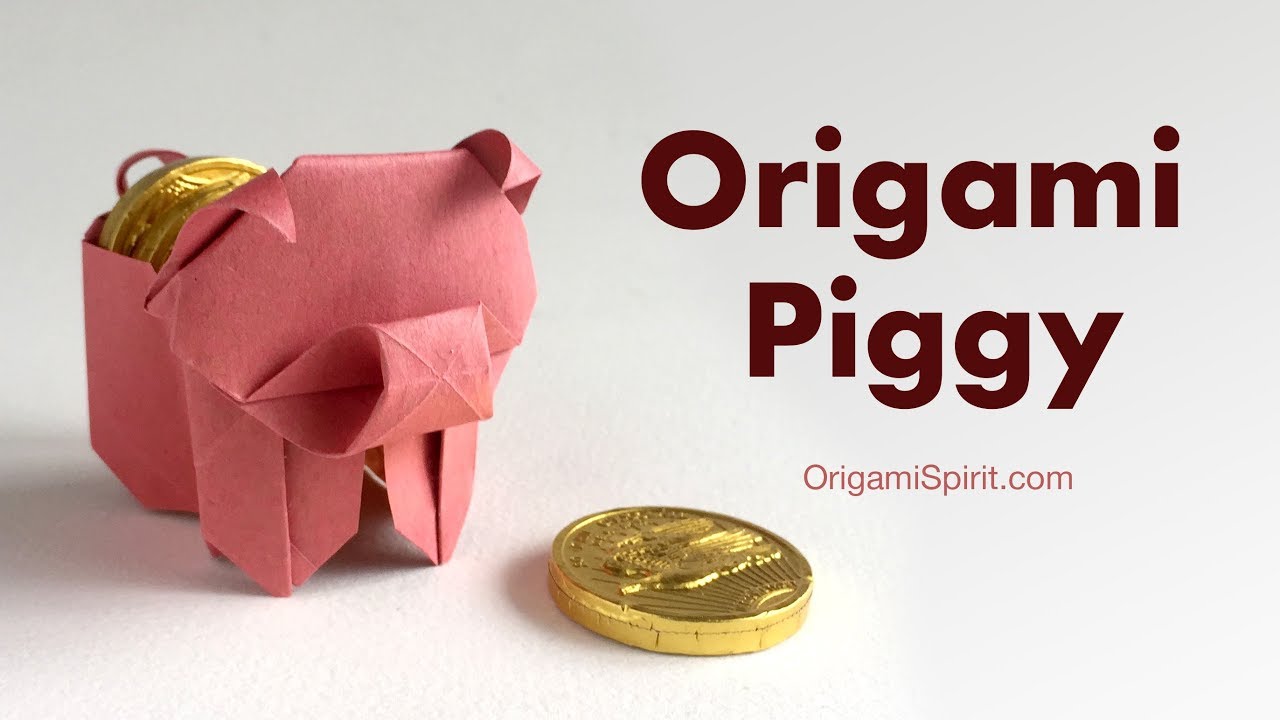
This origami Pig and Candy Box is the perfect model to fill with chocolate gold coins or hazelnut balls to give away as a present. Anybody born in the Year of the Pig might appreciate it a lot! (1923, 1935, 1947, 1959, 1971, 1983, 1995, 2007, 2019).
Tips and suggestions for making the origami Pig and Candy Box
- Use thin paper such as ‘Kami’.
- Two squares of paper are needed, one for the body and one for the head.
- The side of the square used for the head should be three quarters of the side of the square used for the body.
- A 6 x 6-inch (15 × 15cm) piece of paper or bigger is perfect for the body.
- A 4.5 x 4.5-inch (11.25 x.11.25cm) piece of paper is the corresponding size for the head. You can begin with two equal squares and the video will show you how to cut one so that it is perfectly suitable for the head.
- The finished pieces show only one side of the paper. It isn’t necessary to use paper with a different color on each side.
Check out these two related posts…
Origami Cat-Box –Version 1
Click here for post and video
Origami Cat-Box –Version 2
Click here to view post and video tutorial

. . . . . . . . . .
. . . . . . . . .
I really like it. It so cute.
This is papercraft origami pig is really cute. You should put it on Pinterest!
Brilliant,the perfect model for the year of the Pig
Thanks for sharing,much appreciate
I’m happy you like this origami pig Thomas. Welcome to Origami Spirit!