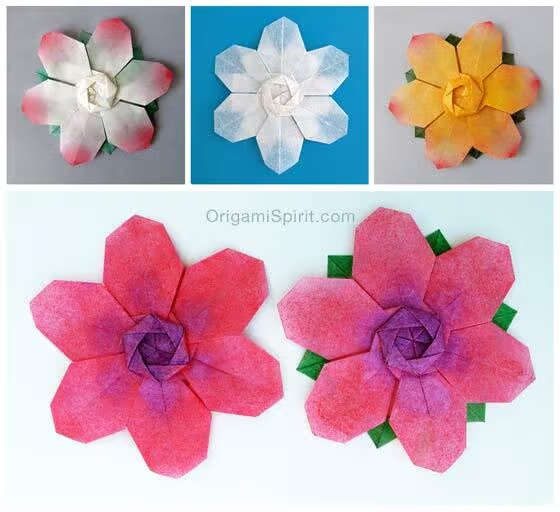
Origami flowers come in many different shapes and forms. When I saw this origami flower, I fell in love with it and immediately wished I could make it. Take a piece of paper and make it right away…I’m sure you will love it too!
This flower, designed by David Martinez, is made with a hexagonal piece of paper, which is very easy to make from a square. David calls it “Field Flower”. It will take some time to make, but once you have made the first one, you will want to make many more. The process is meditative and relaxing and will become easier as you make several flowers.

The following step-by-step video shows how to make a hexagon out of a square and David Martinez’ field flower. As I was preparing the video I discovered a variation that shows the back color of the paper so I added that variation too. Thank you to David for granting permission to present your model.
Looking for more origami flowers?
Click HERE to view a list of videos to make origami flowers
Tips and suggestions to make this six-petal origami flower
- Regular office paper, normally used to type letters or make copies is perfect for making this origami flower. If you find this paper in different colors, even better!
- In addition to making the flower, the video shows how to fold a hexagon. You can skip to minute 2:35 if you already know how to make a hexagon.
- The first time you make this origami flower, begin your hexagon from a paper no smaller than 8.5 x 8.5 inches (21 x 21 cm) and fold a few of this size to begin with. Practice makes the master.
- When you become proficient at folding this flower from the larger sized paper, folding with smaller piece of paper will bring more successful results for sure.
- If you make the flower with paper of different color on each side, start with the color of the finished flower facing up.
- Onion Skin paper is perfect to make this origami flower. You can color it following suggestions in this post.
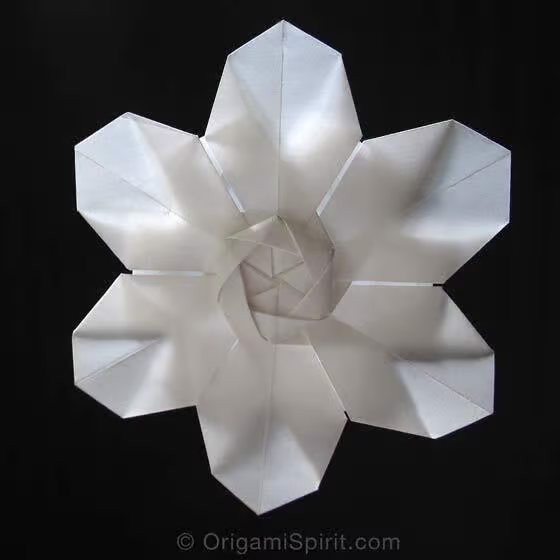
- Since this is a six-sided flower, it doubles up as an origami snowflake.
- Make origami snowflakes in white or silver papers to create lovely Christmas decorations.


Leyla Torres
You are a Inspiration to me
Keep making such wonderful Origami
Thank you Raasiya!
:-)
Hi Leyla-
In your description you mention you found a method to do a color change for the center. I didn’t find it in the video. Could you share the location please? I want to fold these for PCOC this year.
MaryD
OK, found the variation. I was thinking you were making a color change for the center portion of the model. Never Mind. ;-)
Mary
Thank you for telling me. I’m glad you found the answer!
Thanks a lot for such clear instructions! You are truly an origami artist!
Hey Leyla,
Thanks a lot for the great instruction! I created a few and used them as decorations. Here is my blog http://paperprojects.org/?p=283.
Thanks,
Xuan
Nice! Thank you for sharing, Xuan.
Gracias Leyla por compartir, como siempre, estos magníficos modelos con instrucciones tan claras.
Un afectuoso saludo para ti,
Aída
Did it! So happy to have completed this beautiful, complex flower – I love the miniature rosette at the centre. Thank you to David for sharing his lovely creation and thank you Leyla for your tutorial :)
Here’s my attempt:
http://www.pinterest.com/pin/349380883566323726/
Yo have loving hands Rose, beautifully folded. Thank you for sharing!
Thank you for sharing this new tutorial!!!!
I saw this flower recently and really wanted to learn it! Your instructions are perfect and my first try had great results–can’t wait to try it with vellum or onion skin.
I’m glad to hear this Donna. I have been preparing several videos… but this flower suddenly took first place in line. It’s lovely!
Dear Leyla:
Another labour of love with an exquisite result! Thanking you as always for a superb tutorial! I am off to fold :-)
Best always,
Rosemary
Thank you Rosemary… labor of love it is ;-)
maravilhoso , adoro fazer flores , essa nao conhecia parabens…